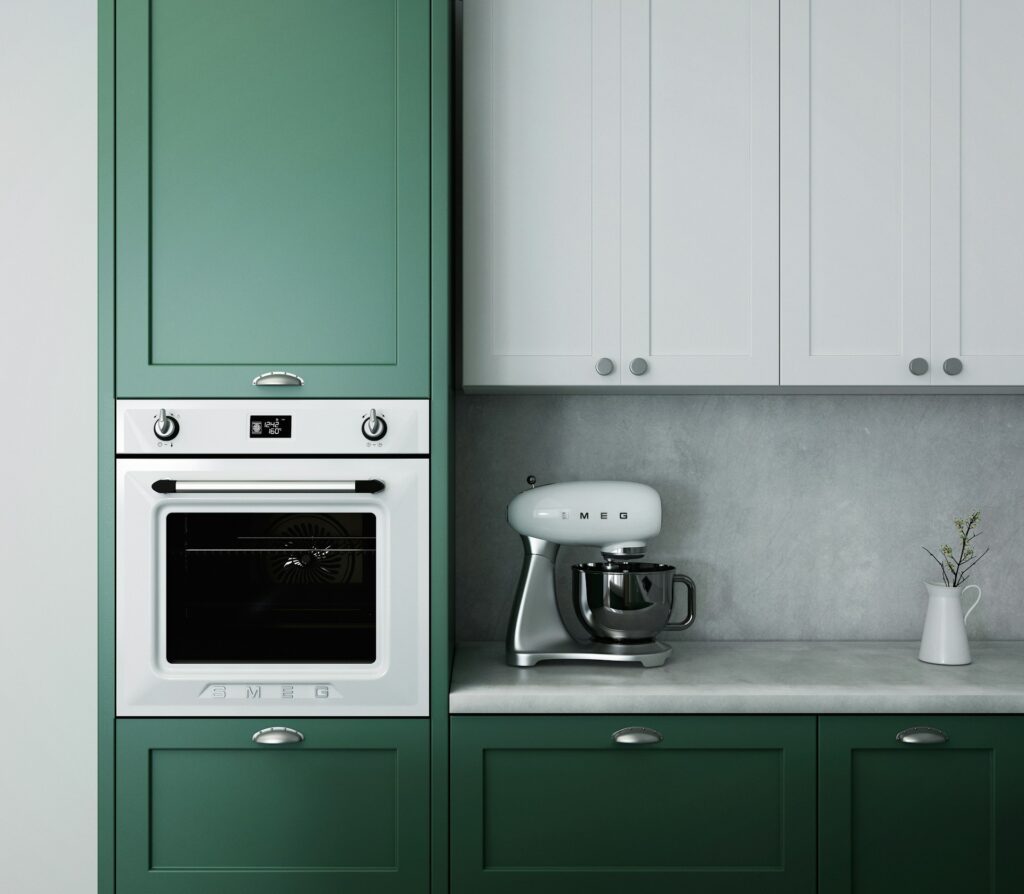
The kitchen is the heart of every home, and a simple upgrade like painting your cabinets can breathe new life into the space. Whether you’re looking to modernize outdated cabinets or add a splash of color to a neutral kitchen, this step-by-step tutorial will guide you through the process of painting kitchen cabinets like a professional. With the right tools, preparation, and technique, you can achieve a flawless finish that transforms your kitchen into a stylish and inviting space.
Step 1: Planning and Preparation
Before diving into the painting process, thorough planning and preparation are essential. Start by removing all cabinet doors, drawers, and hardware. Label each piece with a corresponding number to ensure a seamless reassembly later. Clean all surfaces with a mild detergent to remove grease and grime. If your cabinets have existing finish, sand them lightly to create a smooth surface for the new paint to adhere.
Step 2: Choose the Right Paint and Tools
Selecting the right paint and tools is crucial for achieving a professional-looking finish. Opt for a high-quality, durable enamel paint in a finish that suits your style – satin or semi-gloss are popular choices for kitchen cabinets. Invest in good-quality brushes and rollers to ensure even coverage and minimize streaks or brush marks.
Step 3: Prime for Success
Priming is a step that should not be overlooked. It provides a smooth base for the paint to adhere to and enhances durability. Choose a bonding primer specifically designed for cabinets to ensure maximum adhesion. Apply the primer evenly with a brush or roller, paying attention to details and corners.
Step 4: Fill and Sand
Inspect the cabinets for any imperfections, dents, or holes. Use a wood filler to patch these areas and sand the surfaces once the filler is dry. Sanding between coats is also essential for achieving a smooth finish. Use fine-grit sandpaper to buff the surfaces, removing any rough spots or brush marks.
Step 5: Paint with Precision
Now comes the exciting part – painting your cabinets! Start with the inside edges and framework before moving on to the larger surfaces. Use long, even strokes to prevent streaks, and always follow the wood grain. Be patient and allow each coat to dry thoroughly before applying the next. Depending on the color and type of paint, multiple coats may be necessary for full coverage.
Step 6: Apply a Topcoat
For added protection and a professional finish, consider applying a topcoat. A clear polyurethane topcoat will protect your newly painted cabinets from daily wear and tear, making them easier to clean and maintain over time. Choose a water-based topcoat for quicker drying and low odor.
Step 7: Reassemble and Enjoy
Once the paint and topcoat have dried completely, carefully reattach the cabinet doors, drawers, and hardware. Take your time with reassembly to ensure proper alignment and functionality. Step back and admire your newly painted kitchen cabinets – a testament to your DIY skills.
Conclusion
Painting kitchen cabinets is a rewarding DIY project that can transform the heart of your home. By following these step-by-step instructions and investing time in proper preparation, you can achieve a professional finish that will revitalize your kitchen and leave a lasting impression. Get ready to enjoy the satisfaction of a kitchen makeover without the hefty price tag – it’s time to unleash your inner pro!